Wednesday, July 20, 2011

CLEANING CARBURETOR - avoid accidents

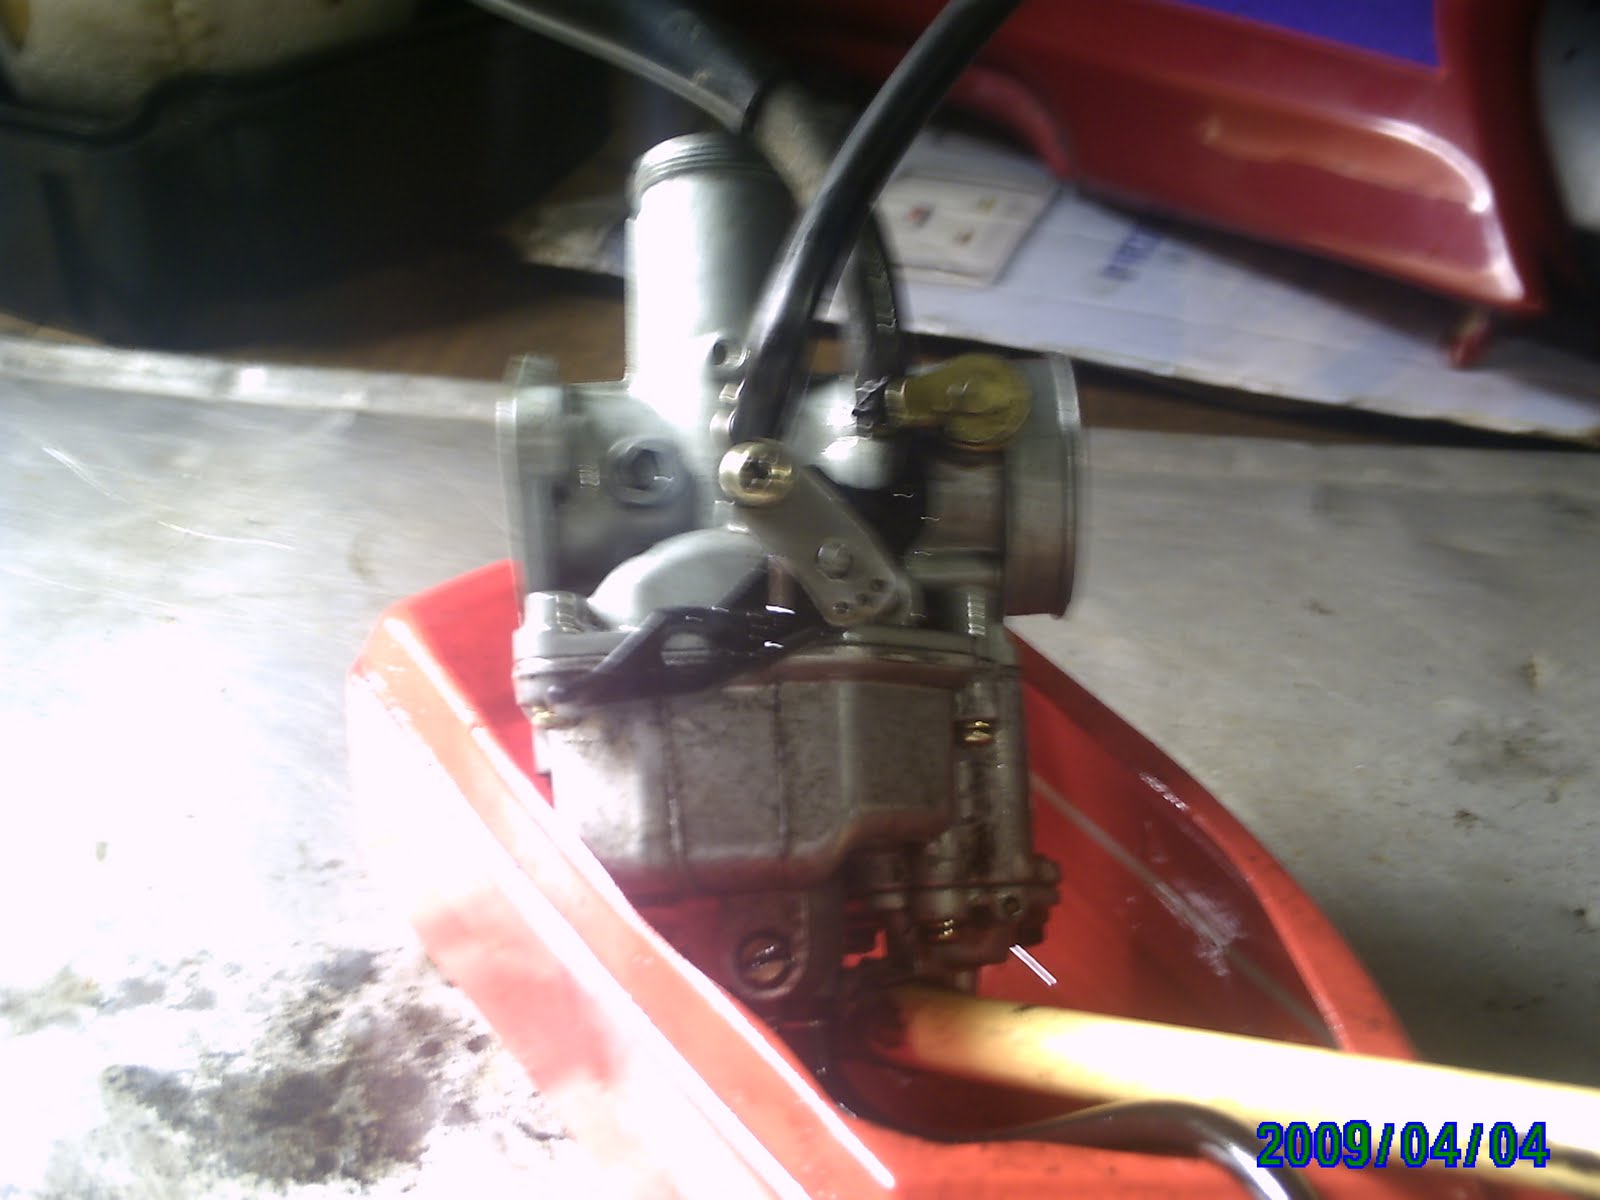
After dismantling the carburetor from the engine, make sure to plug the engine intake hole with rug to prevent other objects to accidentally fall inside.
Before dismantling the carburetor and while the bowl is still filled with fuel, check the accelerator pump to see if it is working good by moving the throttle and see if its spurting fuel from the venturi.
Clean the outside of the carburetor before dismantling to avoid the danger of dirt going inside. It may clogged the jets later on.
If gasoline is the available cleaning agent, always REMEMBER that it is HIGHLY FLAMMABLE and you must provide adequate ventilation in the working area. The use of electric fan is advisable if there is no free air circulation.
If its your first time, be careful in dismantling. Some parts may fall and you will have a hard time figuring out where it came from.
Clean the jet hole with a small wire and to make sure the holes are not clogged, blow air into the hole from your mouth and feel the air coming out from the other side with your finger.
Make sure that it is thoroughly clean before putting it back together. Change the gaskets with a new one.

Saturday, July 16, 2011

FRONT WHEEL REMOVAL

Put the motorcycle in its center stand and raise the front wheel off the ground by placing a support block under the engine. Remove the speedometer cable, front brake adjusting nut, and remove the front brake cable from the brake arm. Remove the axle nut, axle, and the wheel.
Clean the gears and change with a new grease. Check your bearings. Clean your brake shoes and smoothed them with a sandpaper. Check the ovality of brake drum with a caliper.
For installation, reverse the removal procedure and tighten the axle nut to specified torque (6.0 kg-m, 43.5 ft-lb). Adjust the brake and test for free wheel rotation after applying the brakes. Do it for several times.

Wednesday, July 13, 2011

BRAKE SHOE WEAR

If the brake wear indicators aligns when brake is applied, brake shoe must be replaced.


Place the motorcycle on the center stand and remove the rear wheel axle nut.


Use a screwdriver to remove the axle.


Remove the drive chain.


Remove the rear brake adjusting nut and rod from the brake arm.


Remove the wheel and check the brake. This is a single leading shoe. Pull the lock pin out and remove the washer. Pull one brake shoe and the shoes will come out together with the springs. Clean the dust and smoothed the brake shoe and drum with a sandpaper. Or change it with a new one. Put everything back in the reverse order and make sure to put grease on the brake camshaft and pivot post. Tighten the axle nut to specified torque. (6.0 kg-m, 43.5 ft-lb).
After installing the wheel, apply the brakes and check for free wheel rotation when released. Do it several times. Don't forget to check or adjust the brake lights.

Saturday, July 9, 2011

CHECKING PISTON AND RINGS


After taking out the top, check the piston for movement sideways. it should be tight. If it's not change the piston. Also check the piston ring groove while the ring is in its groove. Insert a feeler gauge between the ring and the top or bottom of the groove and if it measures between .001" to .003' it is still good.
Try to feel the top of the cylinder for a ridge. If there is an obvious ridge, it must be re-bored oversize.